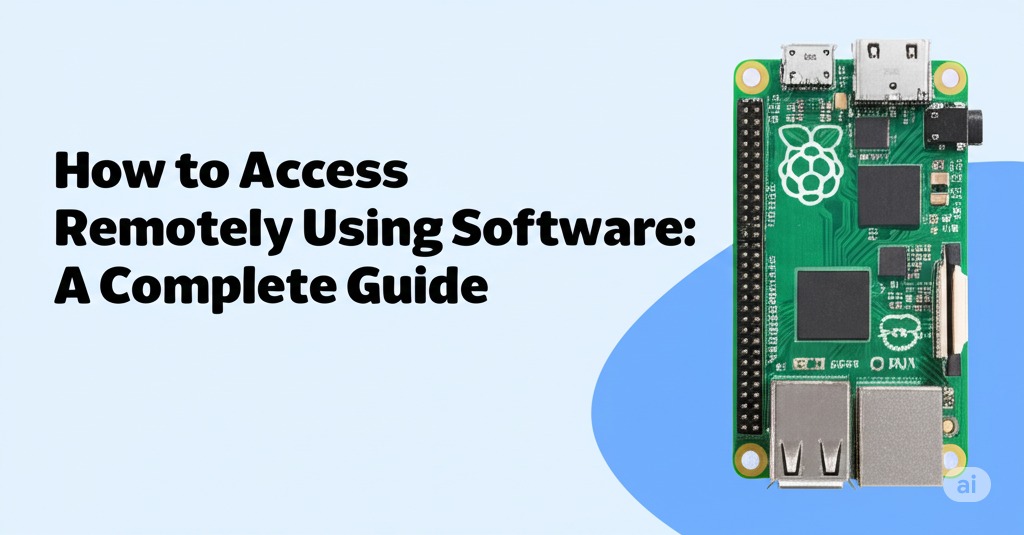
How to Access Raspberry Pi Remotely Using Software: A Complete Guide
Want to control your Raspberry Pi from anywhere in the world? Whether you’re managing a smart home setup, hosting a server, or working on a remote project, remote access to your Raspberry Pi is essential. Thankfully, there are several reliable software tools that make this not only possible but easy.
In this article, we’ll explore the best software options to access your Pi remotely, how they work, and how to set them up. By the end, you’ll be fully equipped to manage your Pi without being tethered to it physically.
Why Remote Access to Raspberry Pi Matters
The Raspberry Pi is a compact and versatile computer, perfect for a variety of applications—from media servers to IoT projects. But manually connecting a monitor, keyboard, and mouse every time is inconvenient. Remote access saves time, boosts productivity, and enables headless operation (running without peripherals).
Whether you’re coding on the go or monitoring devices from miles away, remote access software transforms your Pi into a truly flexible machine.
Best Software Tools for Remote Access to Raspberry Pi
1. SSH (Secure Shell) – Best for Terminal Access
SSH is the most common way to access your Raspberry Pi remotely via the command line.
✅ Benefits:
- Lightweight and fast
- Ideal for scripting and system management
- Built into most Linux and Mac systems
🛠 How to Set It Up:
- Enable SSH on your Pi: bashCopyEdit
sudo raspi-configNavigate to Interfacing Options > SSH > Enable. - Find your Pi’s IP address: bashCopyEdit
hostname -I - Connect from another device: bashCopyEdit
ssh pi@<IP_ADDRESS>
Tip: Change the default password for better security.
2. VNC (Virtual Network Computing) – Best for Full Desktop Access
If you need a graphical interface, VNC is your go-to tool.
✅ Benefits:
- Access the full desktop environment
- Useful for non-command-line users
🛠 How to Set It Up:
- Enable VNC via: bashCopyEdit
sudo raspi-configGo to Interfacing Options > VNC > Enable. - Install RealVNC Viewer on your local machine.
- Connect using the Pi’s IP and login credentials.
Pro Tip: Sign up for a RealVNC account to access your Pi over the internet securely.
3. Remote Desktop Protocol (RDP) – Windows-Friendly Option
For Windows users, RDP offers an easy way to connect with the Pi using the built-in Remote Desktop Client.
✅ Benefits:
- Native to Windows
- Supports graphical interface
🛠 How to Set It Up:
- Install xrdp: bashCopyEdit
sudo apt install xrdp - On your Windows PC, search for “Remote Desktop Connection,” enter the Pi’s IP, and connect.
4. NoMachine – High Performance & Multimedia Support
NoMachine is a powerful remote desktop tool that supports multimedia, file transfer, and even USB device redirection.
✅ Benefits:
- Smooth performance even on slower networks
- Supports audio, printing, and file sharing
🛠 Setup Instructions:
- Download and install NoMachine on both your Pi and remote device.
- Launch NoMachine and connect via the detected network address.
5. TeamViewer Host – Best for Easy Internet Access
TeamViewer is known for making remote access simple and secure, even across firewalls.
✅ Benefits:
- Works over the internet without port forwarding
- User-friendly interface
🛠 How to Use:
- Download the TeamViewer Host package for Raspberry Pi.
- Install and set up your account.
- Log in from any device using your TeamViewer credentials.
Access Your Pi Anywhere: Using Port Forwarding or Cloud Services
Remote software works great on local networks, but what if you’re away from home?
🌐 Use Port Forwarding:
- Log in to your router and forward the relevant ports (e.g., port 22 for SSH).
- Set a static IP for your Pi.
- Use a dynamic DNS service (like No-IP or DuckDNS) to avoid IP changes.
☁️ Use Cloud Access Services:
- RealVNC Cloud, TeamViewer, and Ngrok offer simple cloud-based remote connections.
- Ideal for users who don’t want to deal with router configurations.
⚠️ Security Note: Always secure your connections with strong passwords and, where possible, enable two-factor authentication or use SSH keys.
Best Practices for Secure Remote Access
When exposing your Raspberry Pi to remote access, security is critical. Follow these tips to stay safe:
- Change default passwords immediately.
- Keep your software updated with regular package updates: bashCopyEdit
sudo apt update && sudo apt upgrade - Use fail2ban to block brute-force attacks.
- Use SSH keys instead of passwords.
- Limit remote access to trusted IP addresses where possible.
Conclusion: Remote Access Unlocks Your Pi’s True Potential
With the right software, accessing your Raspberry Pi remotely is both simple and secure. Whether you’re a developer, a hobbyist, or managing devices in the field, these tools empower you to get more done with less hassle.
Start by enabling SSH or VNC, and explore advanced options like NoMachine or TeamViewer based on your needs. Don’t forget to follow best practices for security, especially when connecting over the internet.

Zain Jacobs is a writer for TheNetUse, providing in-depth reviews, tips, and insights on the latest software apps to help users maximize their digital experience.


